Overview
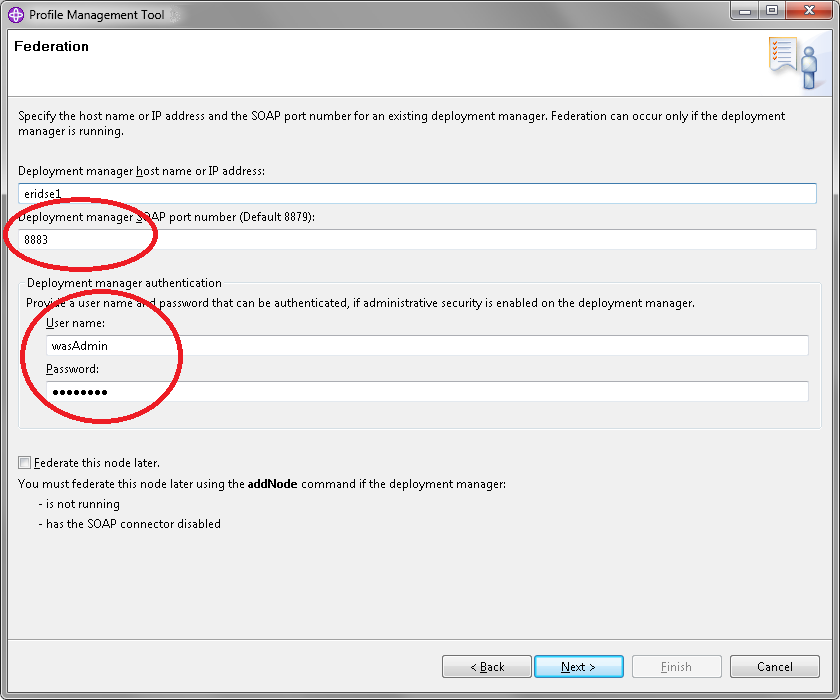
Clustering requires a Deployment Manager profile (dmgr) created on the same computer (host) as the IFS Installer is executed on and at least one Custom profile. Each custom profile need to be federated before
the installation. The Web Servers can be created either before or after the installation.
One application server (custom profile) can be created on the host machine along with the dmgr. This also applies for the webserver.
The dmgr will create a cluster for each federated node during the installation.
Example:
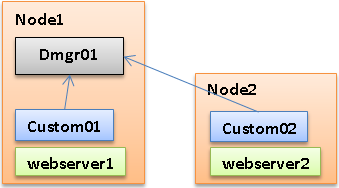
Machine A (the host) has one Managed profile, one Custom profile and one webserver. The custom profile has been federated to Machine A (the dmgr on the same machine)
Machine B has one Custom profile and one webserver. The custom profile has been federated with Machine A (the dmgr).
Add the desired number of nodes in the same manner.
This is just one example out of many combinations. It is possible to keep the HTTP Servers on separate machines as well if desired. However the installer only supports horizontal clustering, i.e. only
clusters that contains multiple physical machines (nodes) and not multiple server instances hosted on the same physical machine (node). If you need
a vertical cluster you need to manually add the rest of the server instances
after the installation.


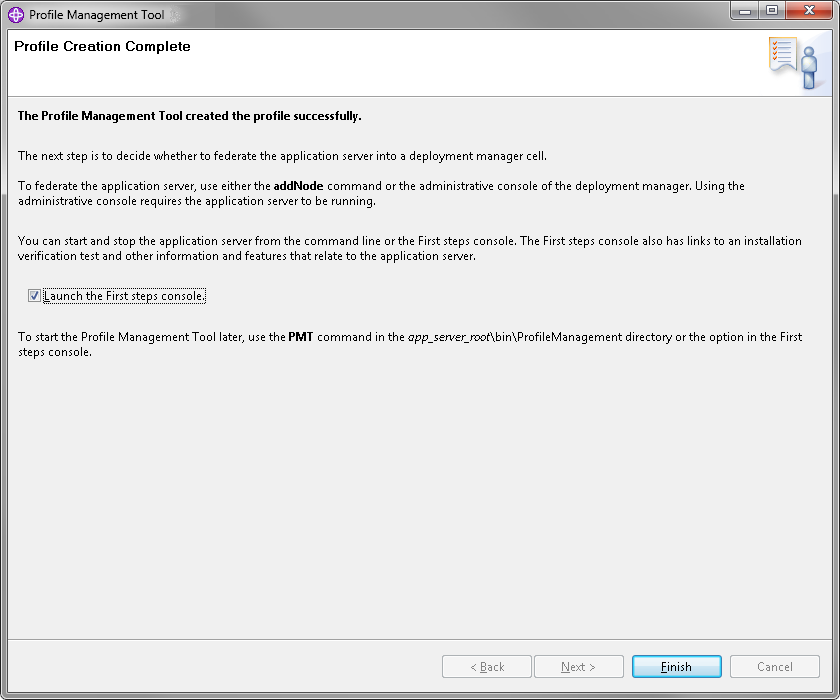
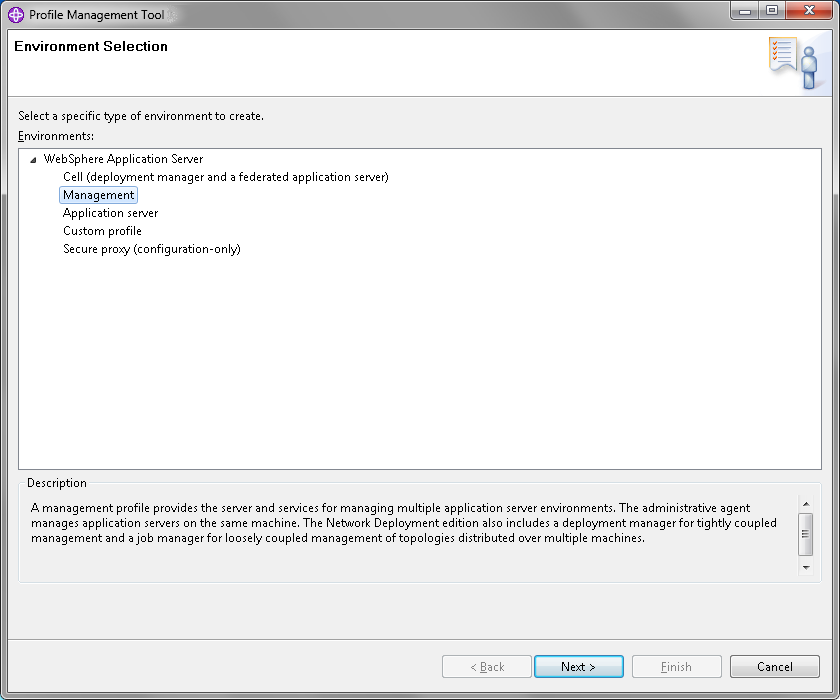

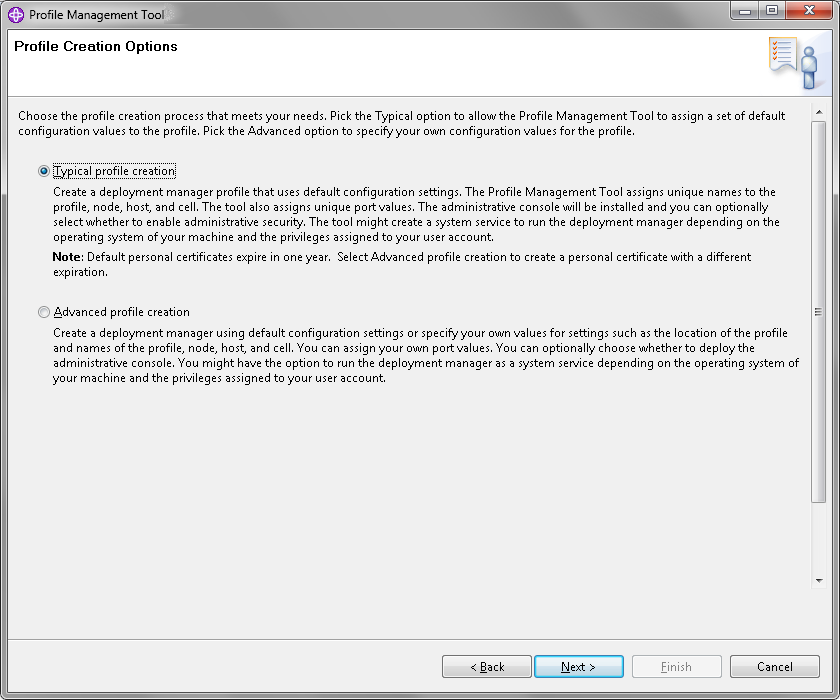
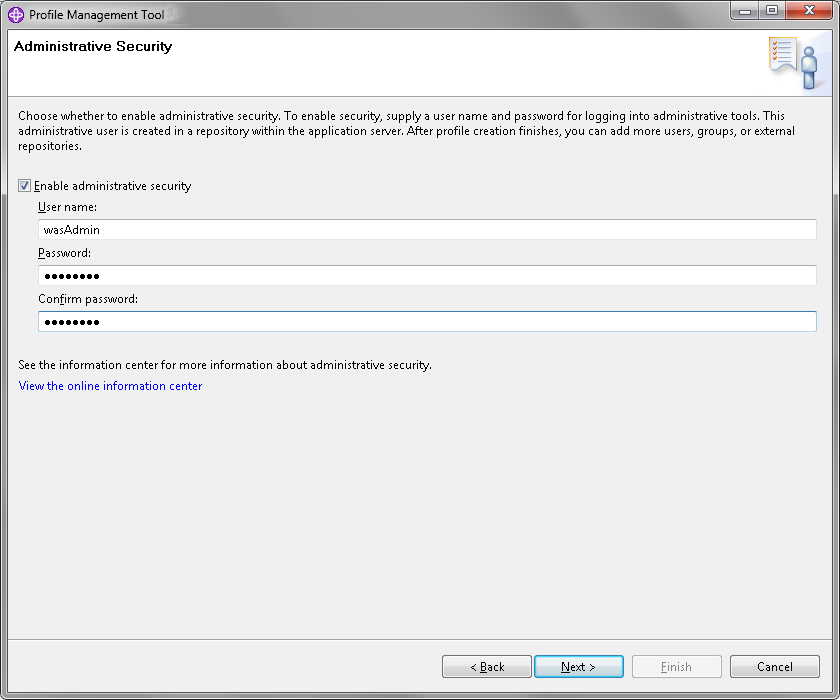
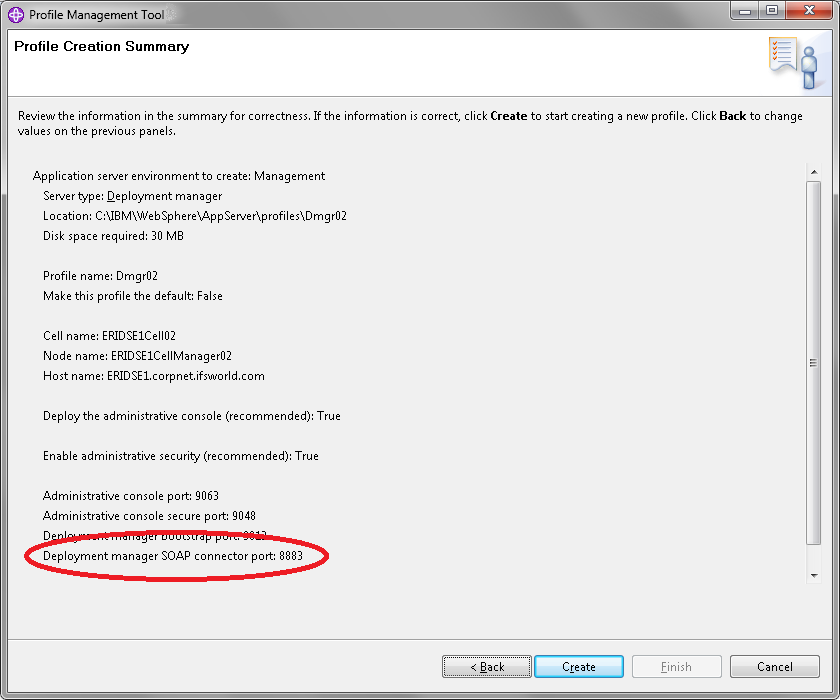
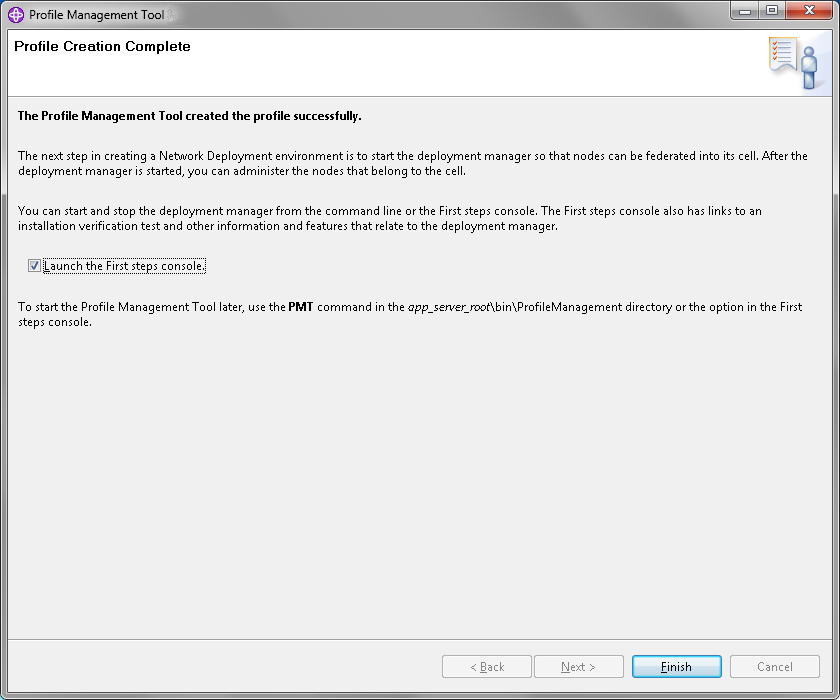
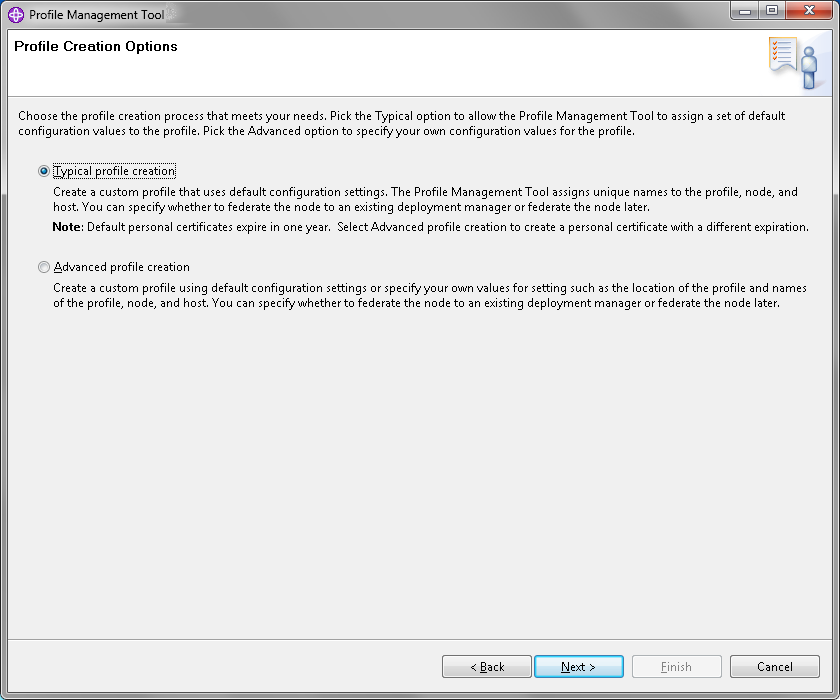
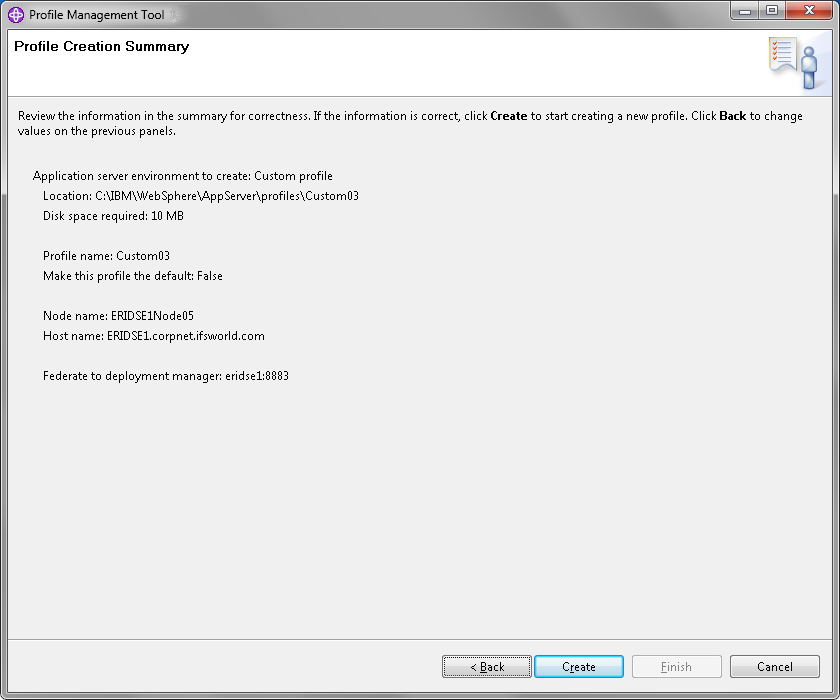
 Press Next.
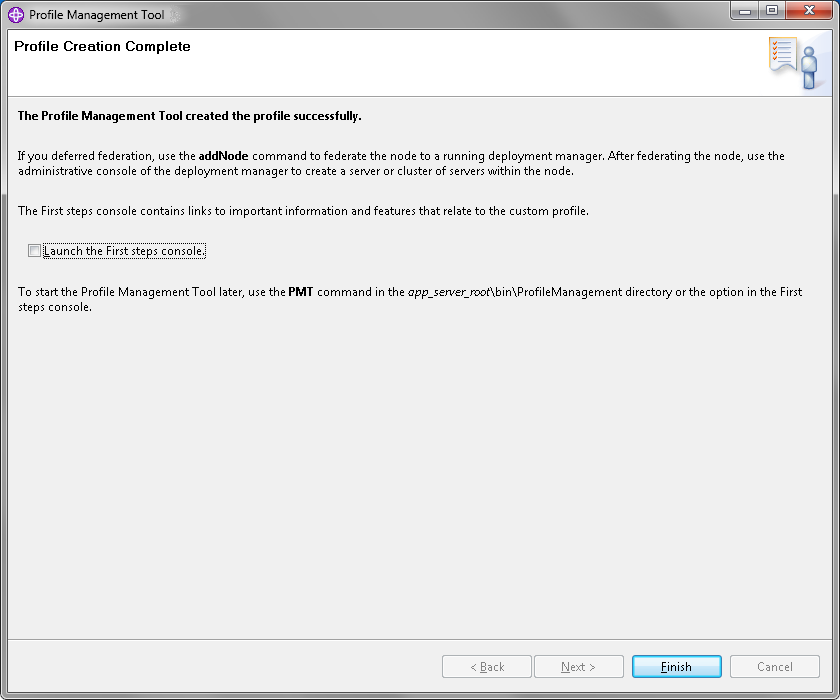
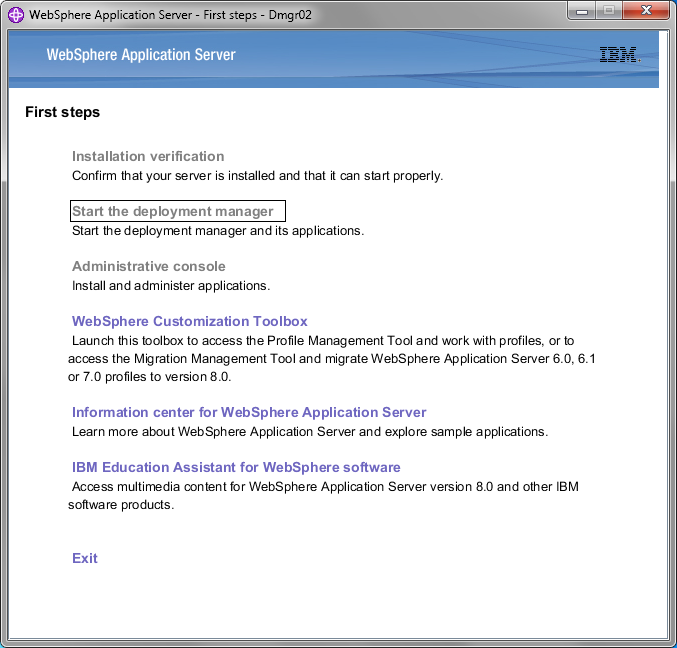